In order to keep your unit working to its best performance at each cycle, it is recommended that you keep a constant and regular maintenance schedule. Here are some tips and tricks to help you preserve your unit for a long time.
Cleaning
Use
mild soapy water to clean:
- The lid or-ing
- The sealing cushions on the lid
- The dome lid
- The front control panel
- The vacuum chamber
- The shims and set-up supports
 on the silicone and the dome lid!
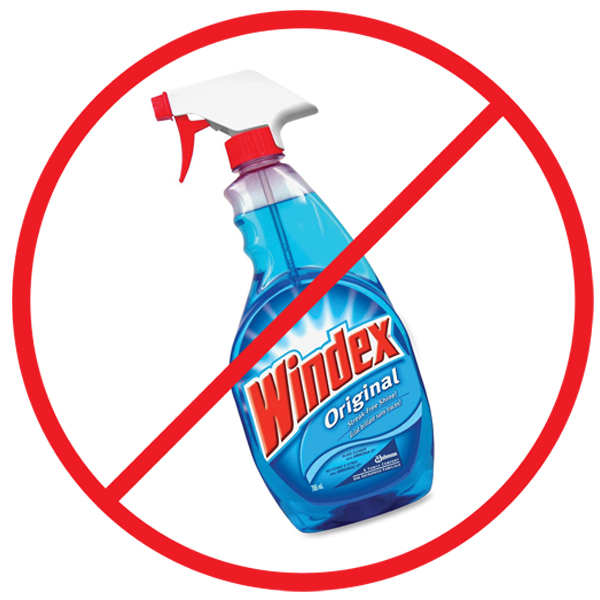
Care must be taken to
not use a harsh
soap or petroleum-based solvent on silicone
and plastics.
Never clean the unit with a high-pressure
cleaner; the unit, and specifically the electronics
can be damaged.
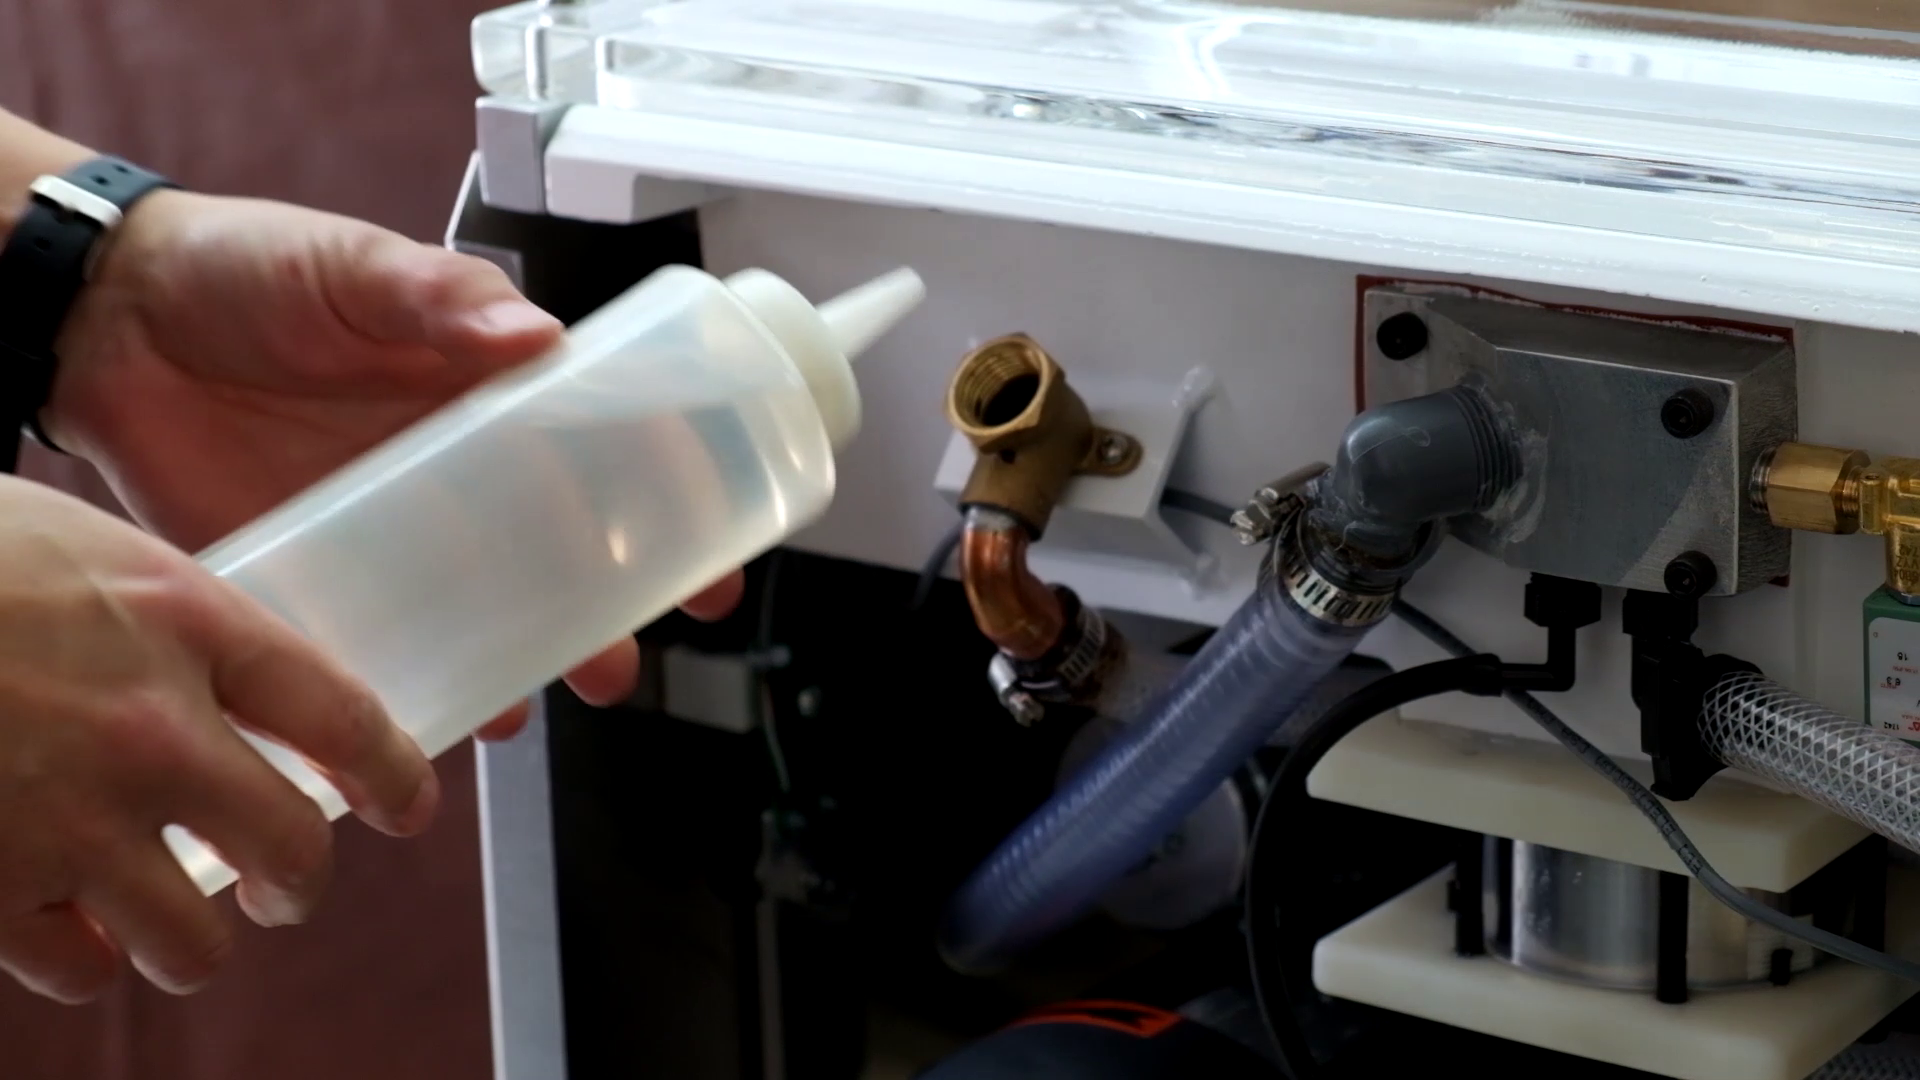
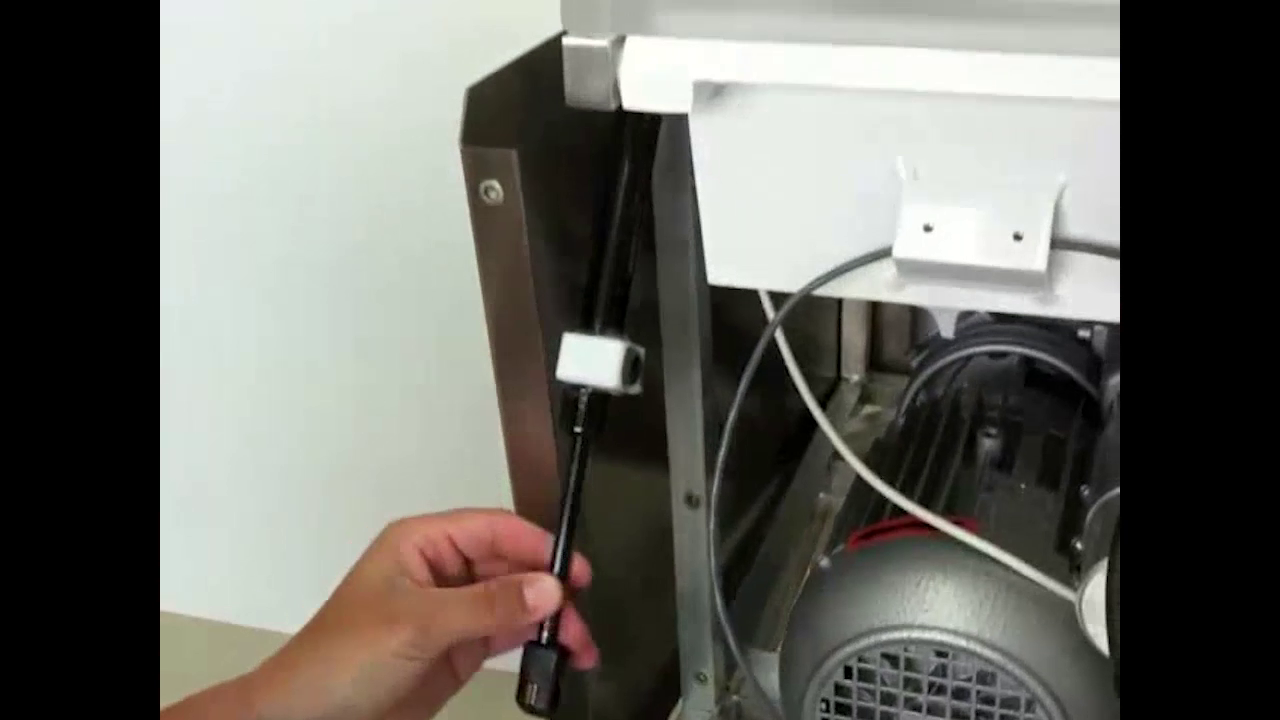
Oil level check
The oil level should be observed on a
daily basis and be replenished if it drops below
the ¼ or MIN mark of the oil sight glass.
For the models
216 and 219, there is a
hole in the back panel of the unit where you
can see the oil sight glass of the pump.
For the models
220 and 226, the oil sight
glass of the pump can be seen directly at the
back of the unit.
All oil level readings should be done only when
the pump is turned off. Oil can be added to the
oil fill port if the pump is shut off and the
circulating oil has sufficient time to return to the
oil sump.
Under normal circumstances, it should
not be necessary to add or drain oil from the
pump between recommended oil changes. A significant drop in oil level means there is an oil
leak or that an exhaust filter is broken; in which
case the pump should be smoking excessively.
It is normal for the oil to be
foamy and
light colored in an operating pump.
However, if
the oil is
milky or dark colored, it is contaminated
or burned and must be changed.
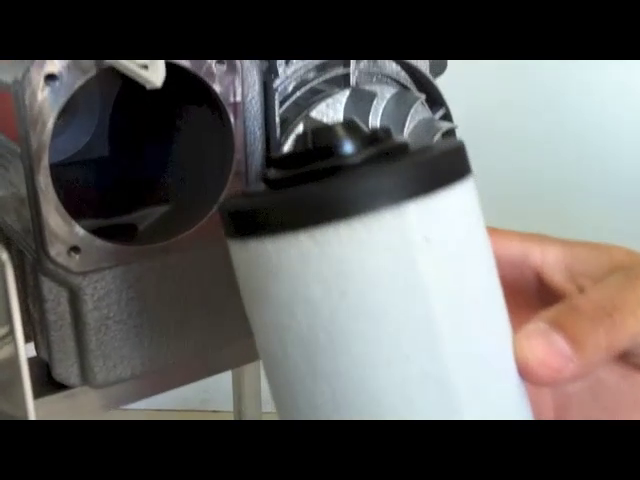
Exhaust filtert
Every nine (9) to eighteen (18) months
or as necessary replace the exhaust filter
element(s).
Lid piston
Over the years, the pressure of the lid piston might decrease to the point that it cannot open the lid properly. The piston can be replaced if necessary. Here is an easy way to replace it if necessary. This method shows you how to easily install the piston without having to force against the piston compression.
Sealing bars
It is strongly recommended to clean the sealing bars with
soapy water on a regular basis. An
everyday cleaning should be enough to help you keep the sealing bars integrity over the years. If necessary, the
teflon tapes which cover the sealing elements can easily be replaced. The
sealing elements can also be replaced as well if necessary.
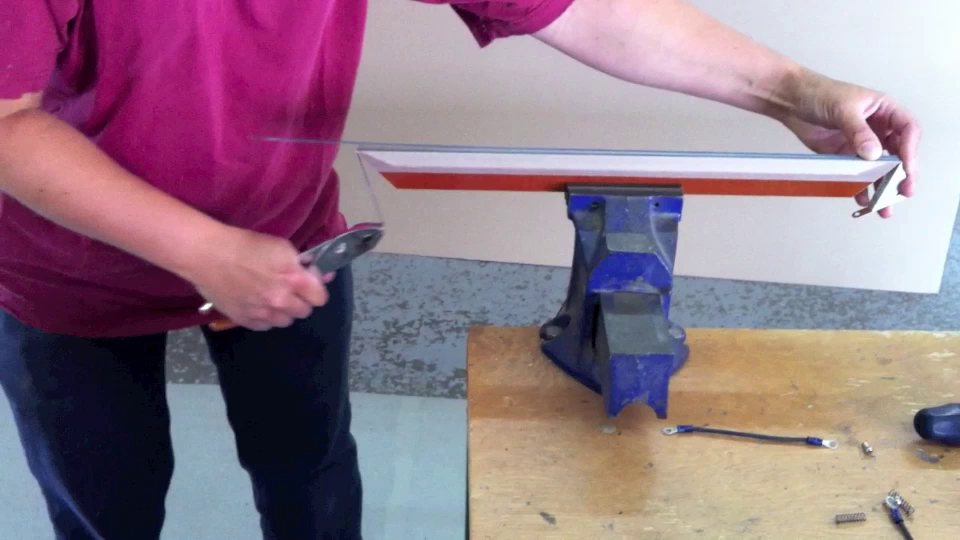
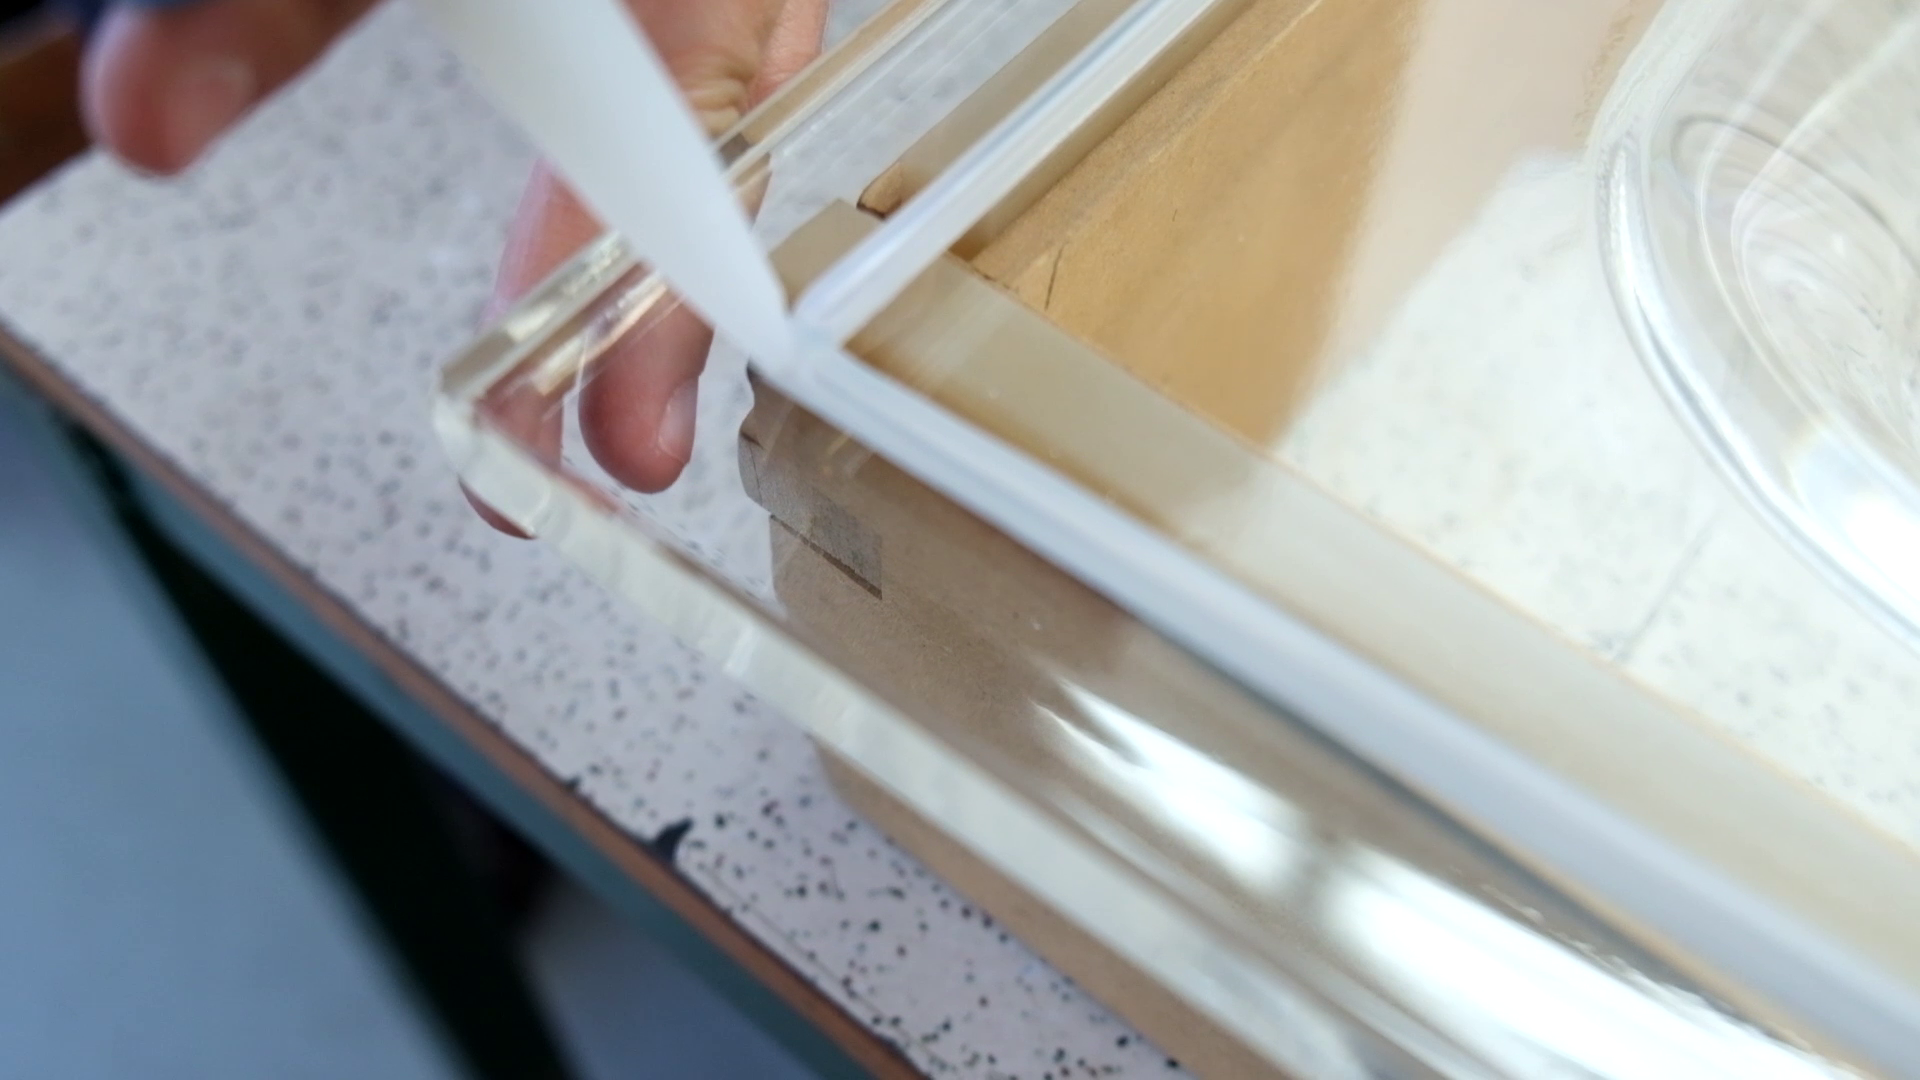
Lid o-ring
Over the years, the lid o-ring might be damaged or might become less tight, giving places to leaks. It is possible to replace the lid o-ring by whether a neoprene or silicone o-ring.
- The o-ring replacement with a neoprene o-ring is fast and easy. This does not require the lid to be removed from the machine. Once the old o-ring is removed from the groove, just slide in the o-ring inside the lid groove. The unit can be used immediately afterward.
The neoprene o-ring is a convenient replacement part when time is a constraint. The neoprene o-ring has a black color and its materials are composed with foamy cells wich will keep the odor with times. The neoprene o-ring is not used in all types of applications.
- The o-ring replacement with a silicone o-ring requires you to plan a little time of preparation because the lid has to be removed and carefully cleaned. Then a very tiny filet of silicone have to be applied inside the groove before inserting the o-ring.
The silicone o-ring is durable and the ones installed in our machines are food grade.